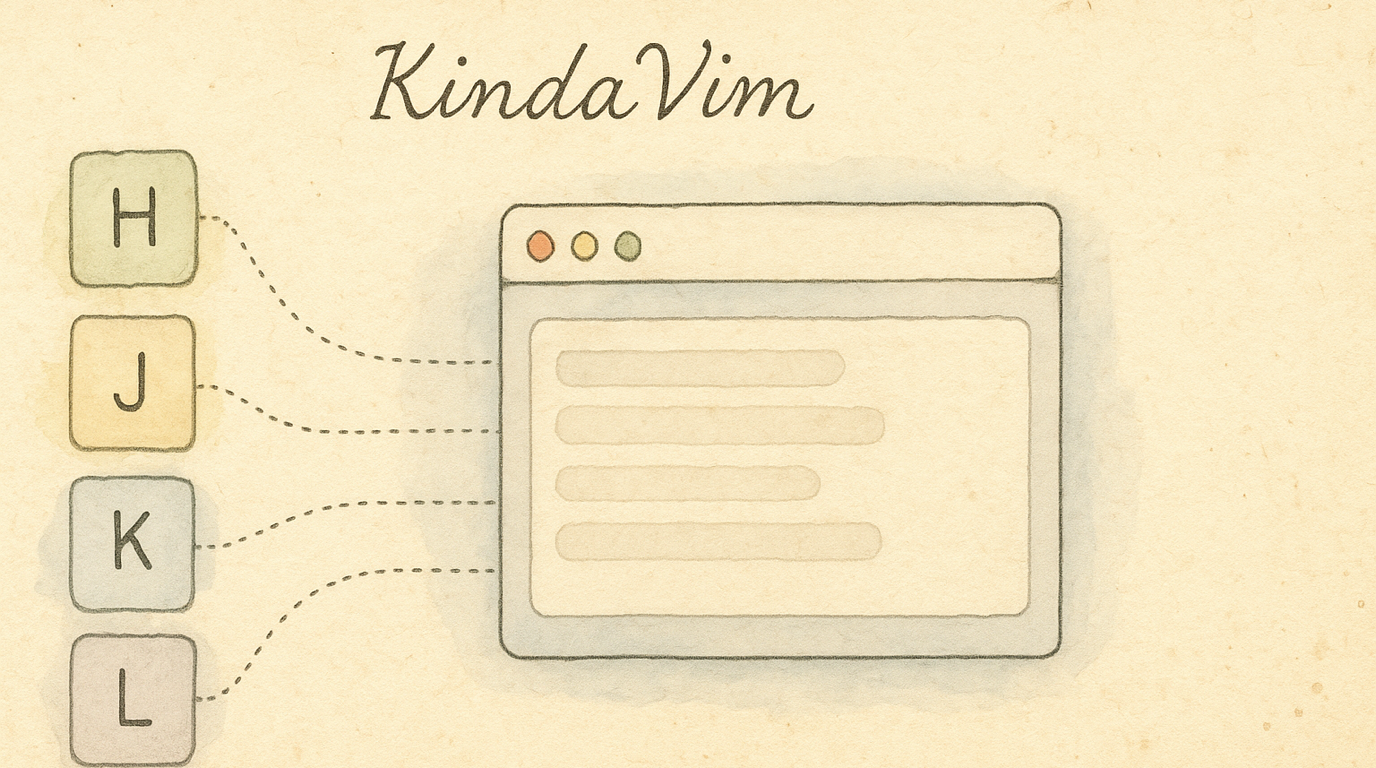
KindaVim
Most vim emulators stop at hjkl arrows. KindaVim ↗ — a separate macOS app by godbout ↗ — gives you the real thing: Normal mode, Visual mode, operators, motions, and text objects across every text field on your Mac. KeyPath complements it with a live overlay, mode badge, and progress insights. The two apps coordinate; neither replaces the other.
New to keyboard customization? Read Keyboard Concepts first for background on layers and dual-role keys.
What KindaVim Adds
KindaVim is a third-party macOS app that adds genuine Vim modes to almost every text field on your Mac — Mail, Notes, Slack, your browser’s address bar, code editors, and more:
- Normal mode — navigate, delete, yank, paste with real Vim commands
- Visual mode — select text with motions and text objects
- Operators + motions —
d3w,ct.,yapparse exactly like Vim - Text objects —
ci",da(,visfor inner sentence, etc.
Press Esc (or whatever you’ve configured — fj is a popular choice) to enter Normal mode; press i / a / o to return to Insert. Just like real Vim.
How KeyPath Coordinates
The KindaVim pack in KeyPath is “visual-only” — it adds no keyboard remappings. KindaVim itself handles every keypress. KeyPath layers on:
| What | Where |
|---|---|
| Mode badge | A small VIM: NORMAL / INSERT / VISUAL indicator in the live keyboard overlay header. |
| hjkl arrow hints | When KindaVim is in Normal mode, the live keyboard overlay highlights h / j / k / l with loud arrow glyphs and dims the rest. |
| Operator-pending callout | Press an operator (d, c, y) and the overlay tells you “Press d again for the whole line.” A 5× count badge appears while you’re typing a numeric prefix. |
| Strategy awareness | KindaVim runs on one of two backends per app — Accessibility (full set) or Keyboard (degraded fallback for apps like Slack). KeyPath reads which is active for your frontmost app and only shows hints that will actually fire. |
| Mastery insights | If you opt into local-only telemetry, the Pack Detail panel shows a 30-day arrow-key reliance chart, your most-used commands with mastery tiers, and stage-appropriate suggestions (“you’ve never used b — pairs with w you already know”). |
Setting It Up
1. Install KindaVim
Download KindaVim from kindavim.app ↗. KeyPath’s KindaVim pack detects whether the app is installed and shows a status row in Pack Detail.
2. Install the KindaVim pack in KeyPath
Open the Gallery in KeyPath, find the KindaVim Mode Display pack, and turn it on. The pack:
- Adds zero kanata remappings (KindaVim handles all the keystrokes)
- Just enables KeyPath’s visual layer to track and display KindaVim’s state
If kindaVim.app isn’t installed, KeyPath surfaces an alert with a Get KindaVim → button before letting you enable the pack.
3. (Optional) Turn on local usage stats
Pack Detail has a Record local KindaVim usage stats toggle. When on, KeyPath records aggregate counts (how often you press each key, time spent in each mode, etc.) and surfaces a “Your vim vocabulary” panel with charts and suggestions.
The data stays on your Mac and is never sent anywhere. A Clear all KindaVim usage data button in the same panel deletes it at any time.
Reading the Overlay
When KindaVim is in Normal mode and the pack is on, KeyPath transforms the overlay:
hjklrender as large accent-coloured arrow glyphs (◀ ▼ ▲ ▶), the loudest signal on the keyboard.- Other Normal-mode keys (
wbe,0$,iao,x,dcy,ft,ggG, etc.) get small chips in the top-right corner of their keycap. - Tier styling dims keys by how core they are: foundational keys at full strength, secondary keys faded, advanced (Page Up/Down, search) hidden behind a “Show all keys” toggle.
- Operator-pending mode dims non-motion keys to ~15% so you can see at a glance which keys will accept the next motion.
Screenshot — KeyPath overlay in KindaVim Normal mode:
┌─ KeyPath ──────────────────────── VIM: NORMAL ─── ● ──┐
│                                                        │
│  ┌───┐┌───┐┌───┐┌───┐┌───┐┌───┐┌───┐┌───┐┌───┐┌───┐  │
│  │ q ││ w ││ e ││ r ││ t ││ y ││ u ││ i ││ o ││ p │  │
│  │   ││ w ││ e ││   ││ t ││ y ││ u ││ i ││ o ││ p │  │
│  └───┘└───┘└───┘└───┘└───┘└───┘└───┘└───┘└───┘└───┘  │
│  ┌───┐┌───┐┌───┐┌───┐┌───┐┌═══╗┌═══╗┌═══╗┌═══╗┌───┐  │
│  │ a ││ s ││ d ││ f ││ g │║ ◀ ║║ ▼ ║║ ▲ ║║ ▶ ║│ ; │  │
│  │   ││   ││ d ││ f ││ g │║ h ║║ j ║║ k ║║ l ║│   │  │
│  └───┘└───┘└───┘└───┘└───┘╚═══╝╚═══╝╚═══╝╚═══╝└───┘  │
│  ┌───┐┌───┐┌───┐┌───┐┌───┐┌───┐┌───┐┌───┐┌───┐       │
│  │ z ││ x ││ c ││ v ││ b ││ n ││ m ││   ││   │       │
│  │   ││ x ││ c ││   ││ b ││   ││   ││   ││   │       │
│  └───┘└───┘└───┘└───┘└───┘└───┘└───┘└───┘└───┘       │
└────────────────────────────────────────────────────────┘
  ═══ hjkl arrows (accent color)    d/f/g = operators
  w/e/b = word motions              x/c = delete/change
The overlay vanishes back to its normal state the instant KindaVim flips to Insert mode.
Tips
- Start with KindaVim alone — get comfortable with Normal/Visual modes before turning on the KeyPath pack. The mode signal needs to feel intuitive before the visual layer adds value.
- The hint layer is a teacher, not a contract — KindaVim’s two strategies (Accessibility vs. Keyboard fallback) wire up different command sets per app. KeyPath only renders hints that the current strategy supports.
- Watch the arrow-reliance metric — the headline chart in Pack Detail shows what fraction of your cursor moves are still arrow keys vs. hjkl. Down = better. A heavy vim user reaches zero.
- Don’t worry about counts in early days — the “What to try next” panel waits until you have ~50 navigation events before suggesting anything specific.
Where to Go Next
- Keyboard Concepts — Layers, modifiers, and dual-role keys explained
- Shortcuts Without Reaching — Combine KindaVim with home row modifiers
- Neovim in the Terminal — Lighter alternative: Leader-layer shortcuts with a HUD reference card
- One Key, Multiple Actions — Tap-hold for the rare key you want to remap outside of vim mode
- Back to Docs
External Resources
- KindaVim website ↗ — The official KindaVim app, by godbout ↗. Download, documentation, and updates.
- KindaVim docs ↗ — Full command reference, including which commands are supported by the Accessibility vs. Keyboard strategies.
- KindaVim on GitHub ↗ — Source code, releases, and issue tracker.
- Vim Cheat Sheet ↗ — Quick reference for all Vim commands.